How To Get The Best Lighting For YouTube Videos in 2022
Great lighting is important if you want people to watch your YouTube videos from start to finish. Viewers want to see you clearly and will click away if they cannot.
Natural light works great, and it's cheap, so if it is possible you might want to consider vlogging outside. Of course, not every type of vlog is suited to the outdoors. And identifying the type of lighting for YouTube videos is the main key to success.
Unfortunately, it is unlikely you will be able to get good quality light from the lamps and ceiling lights in your home. Floor lamps can be useful for filling shadows or backlighting but are not usually powerful enough to use as your main light.
Natural light is good, so one way you can get around needing a lot of lighting equipment is to use a window as your main light. This is not always possible, though. If you need good lighting for YouTube videos for indoor vlogging then you need to invest in better lighting equipment.
Why YouTube Videos Need Good Lighting
Good lighting encompasses much more than whether or not the viewer sees your subject. Lighting can help create the mood and look of your videos. Ask yourself:
- How do you want the audience to feel? Different kinds of lights, with varying styles and intensity, can give audiences tonal cues. Think about how your lighting helps convey the mood that matches your message.
- Where do you want viewers to look? The contrast in lighting can naturally draw viewers’ eyes. For example, high contrast can make people or objects stand out. (Note: you also can adjust the contrast in editing.)
Before you shoot your next video, define the mood you wish to convey and evaluate what lighting conditions can contribute to that mood.
How To Choose The Best Lighting For YouTube Videos
While most YouTube lighting setups start from a single light, it can be helpful to plan ahead. A three-point lighting setup is the most common arrangement and involves a key light, a fill light, and a background light.
Key Light-
The key light is your main light and is usually the brightest. Sometimes creators can also opt for ring light for YouTube videos. This light is used to illuminate your subject and determines the overall exposure of your scene. How it’s positioned will vary depending on the look you’re going for, but in general, around 45 degrees from your subject is a good starting point.
Fill Light-
The fill light is usually a little dimmer and is positioned on the opposite side of your subject, mirroring the key. This light is used to fill in any shadows left by the key light, and its brightness can be varied to taste. Going for a bright, soft look? Turn the fill light up. Looking for something a little moodier? Dim the fill light down a little. Following this kind of professional setup would enable content creators to produce the best lighting for YouTube videos.
Background Light-
Finally, as the name suggests, a background light is used to illuminate the space behind your subject. This light can set the overall feel of your video and add a sense of space to your scene. Pretty much any video light can be used to light your background, although dedicated background lights with color-changing functionality can offer a wide range of creative freedom.
The three-point light setup won’t work for all styles of video, and it’s certainly not essential to go out and buy three separate lights immediately, especially if you’re just getting started. But it can help to bear this arrangement in mind when planning which light to buy first
Some Simple Techniques That Enhances Lighting For YouTube Videos
A few easy tools can create intriguing moods and change the whole feel of the scene. Experiment with decreasing or increasing the light intensity:
- Shine the light through a white diffusion sheet, or obscure part of the light with a shade. Diffused lighting provides a softer look for your subjects. Just never put materials too close to a hot light to avoid a fire hazard. This could be one of the most effective ways to give a professional touch to your videos.
- Use a bounce card to give your subjects a highlighted glow or even out the quality of light.
- Intensify your backlight to put a glowing “edge” on your on-screen talent, for a professional look.
Don’t forget: when working with lighting equipment, take the time to read the instructions and prepare a safe environment.
Finally, the sun can be a great (and free) source of light. The best sunlight typically happens during the early morning and late afternoon, so avoid shooting between 11 am and 3 pm as sometimes the overhead sunlight can produce an unflattering effect.
Recommended List Of Lighting For YouTube Videos
Softbox-
If you want a softer look to your videos, a softer shadow, or no shadow at all, you probably want to look at softboxes. The light of softboxes is like their name suggests – way softer. They have a kind of cloth in front of them, which makes your shadows and also your overall image just appear softer.
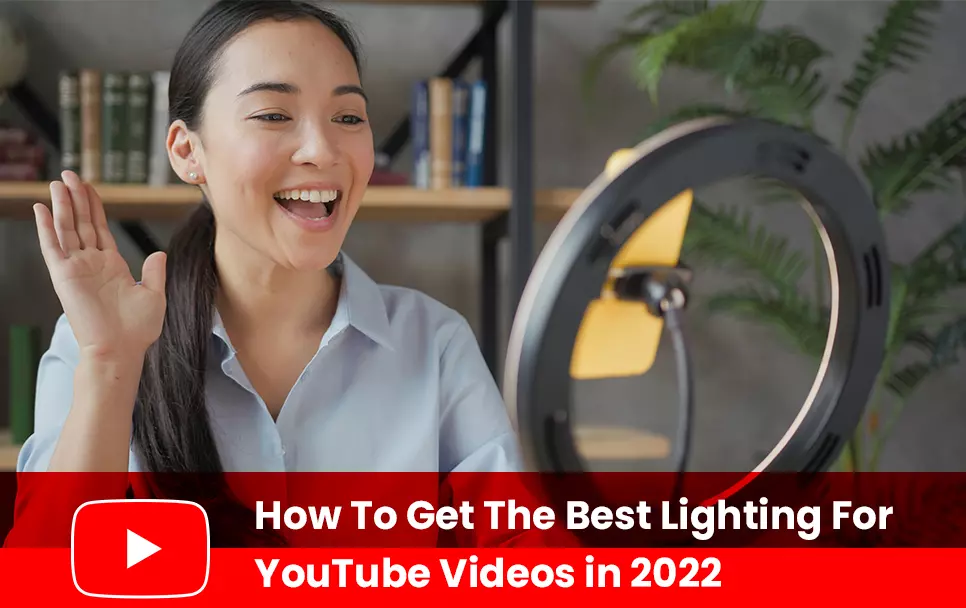
Ring Lighting-
This style of YouTube lighting is the go-to setup for beauty and makeup vloggers. The ring light is a lightbulb or panel that is created in a ring shape, and it’s popular because it creates an even, flattering light all around your face. The shape of it also allows for you to point your camera directly through the center of the ring to film. Ring light for YouTube videos have been increasingly used.
Umbrella Lights-
Umbrella lights are an affordable and portable light source that produces softer light than its counterparts. Compared to softboxes, umbrellas create more controlled and directional light. There are two main types of umbrella lights: reflective and shoot-through. Just like its name implies, they are portable since they can be folded like regular umbrellas. This type of lighting for YouTube videos is highly preferred by newbies.
Once you find the right setup, make sure you achieve a look that you want and try to memorize how you achieved it so you can replicate it for all your videos.
It will take some practice and many videos for you to finally choose the best one. You might want to take a picture of all your setup once you achieve a look that you love, so you can replicate it later. These are the best lights for YouTubers looking to transform his/her video arsenal into something substantial & professional.